A properly installed cover lifter makes opening and closing your swim spa cover effortless while extending its lifespan.
This guide walks you through the installation process, helping you set up your cabinet-mounted lifter quickly and correctly!
Installing your Swim Spa Cabinet-Mount Cover Lifter? This guide provides clear, step-by-step instructions to help you get it right the first time, ensuring a secure fit and long-lasting support for your spa cover.
A properly installed cover lifter makes opening and closing your swim spa cover effortless while extending its lifespan.
This guide walks you through the installation process, helping you set up your cabinet-mounted lifter quickly and correctly!
Follow the steps below, and your cover lifter will be installed in no time!
The Cabinet Mounted Swim Spa Cover Lifter works with the following Vortex™ and Fisher™ Swim Spas.
Important Compatibility Note:
A clearance of 600mm is required on the side where the cover will stand, with 200mm needed on the remaining two sides for proper installation and operation.
Before you begin installation, check that your kit includes all the required components. Having everything on hand will ensure a smooth assembly process.
Included Parts:
Support Arms:
Structural Components:
Fittings & Fasteners:
Installation Screws:
Before proceeding with installation, confirm that all parts are included. If anything is missing, contact the supplier for replacements.
Before you begin assembly, make sure you have all the required parts from the checklist. Once confirmed, follow these step-by-step instructions to properly assemble and install your swim spa cover lifter.
Prepare the Pivot Arm:
Attach the Bracket:
Position the Bracket:
Align the support arm with the pivot arm, ensuring a proper fit. Do not fasten them yet—make sure all tubing is aligned and adjusted before securing.
This step-by-step guide will help you install your cabinet-mount lifter securely, making it easier to use your spa cover. Proper installation also helps protect and extend the life of your cover.
We hope you found this guide helpful and enjoy the convenience of your new lifter. Here’s to relaxing and making the most of your Swim spa!
Have questions? We’re here to help!
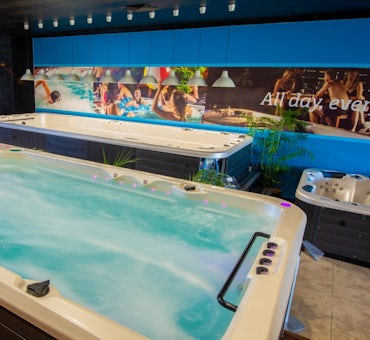
Make lifting the lid on and off your spa a breeze with a cover lifter. A cover lifter will help minimise tugging or lifting, making your spa experience more relaxing!
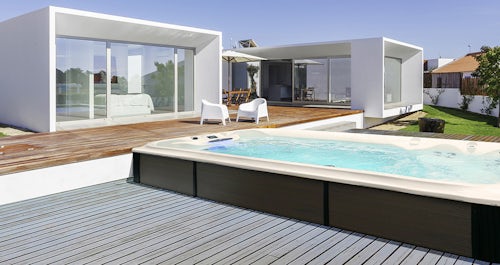
Thinking about a swim spa? Want to know the difference between a pool and a swim spa? This article and video cover all the key points about swim spas including what they're good for, how much they cost to run and which are the best swim spas in Australia.
Birdeye is a trusted platform for customer reviews and ratings.