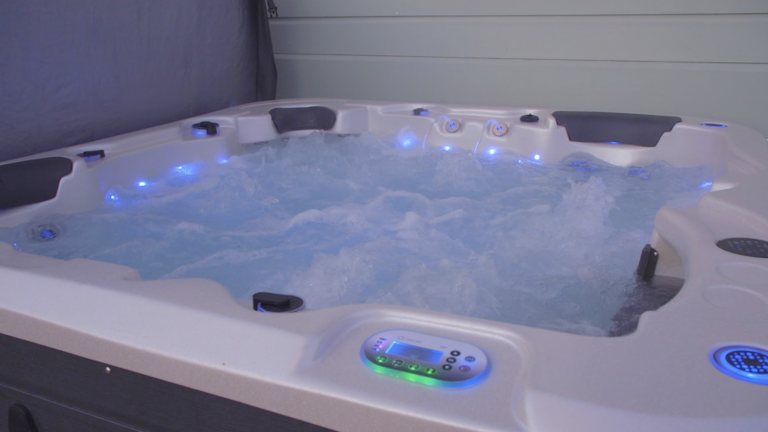
This article explains the different buttons, functions, and features of SpaNet™ controllers, so you can get the most out of your Vortex™ or Fisher™ Spa.
In this article, you will learn:
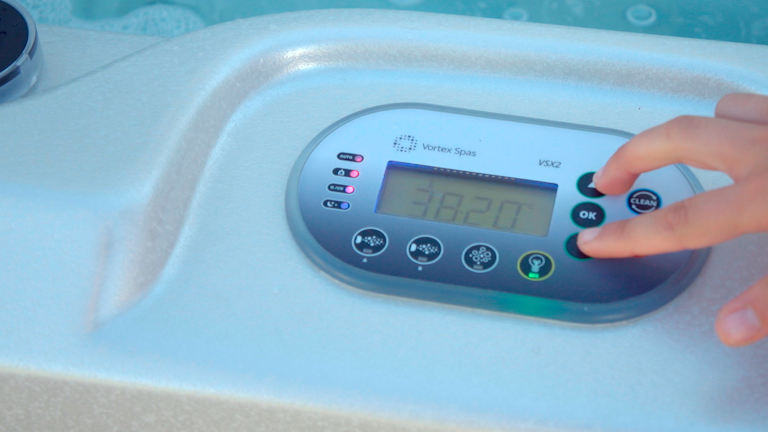
- Which SpaNet® controller does my spa have?
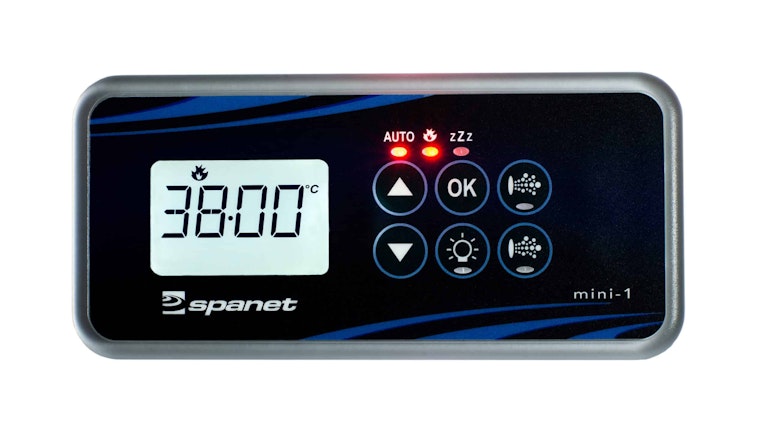
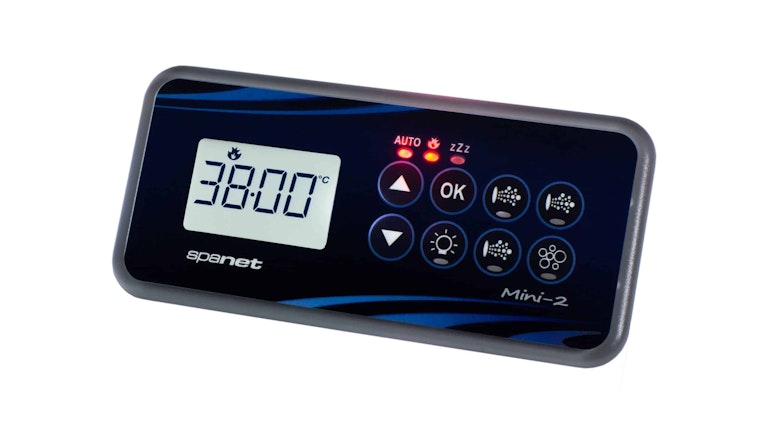
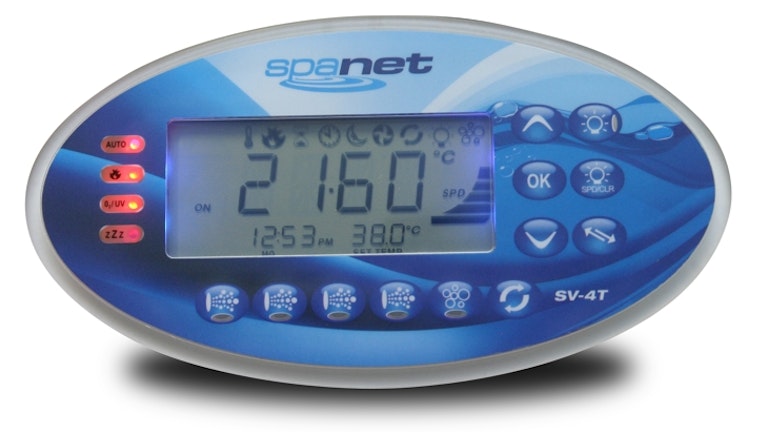
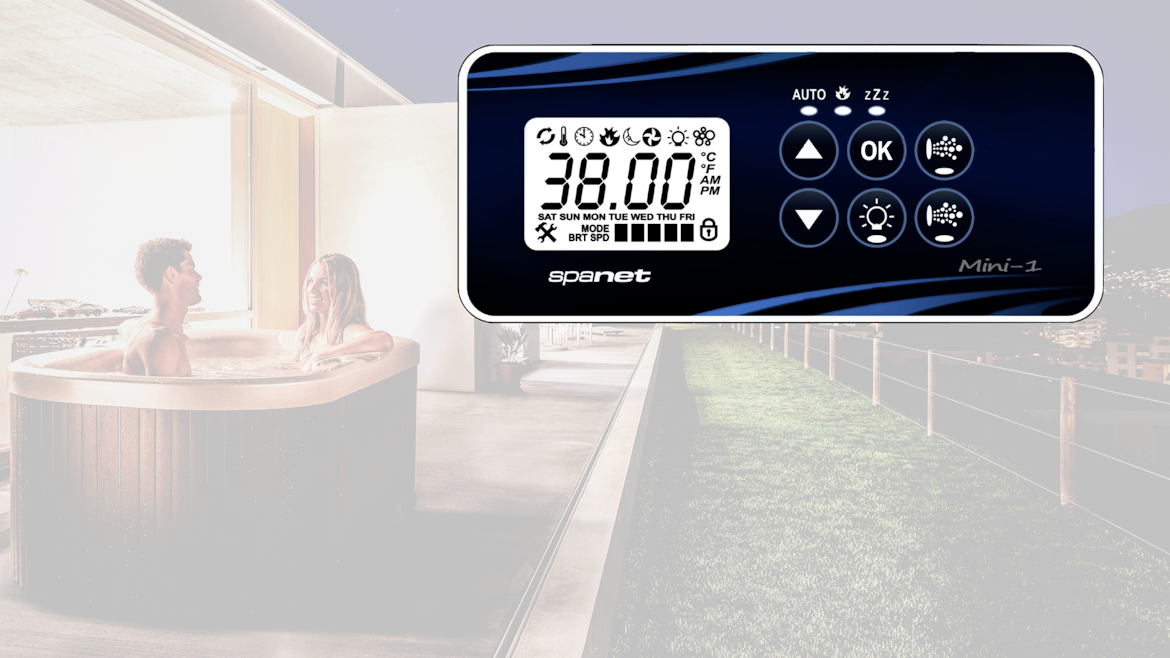
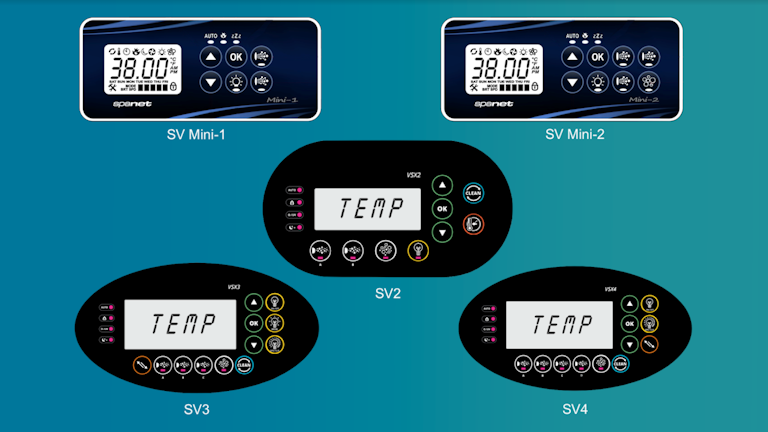
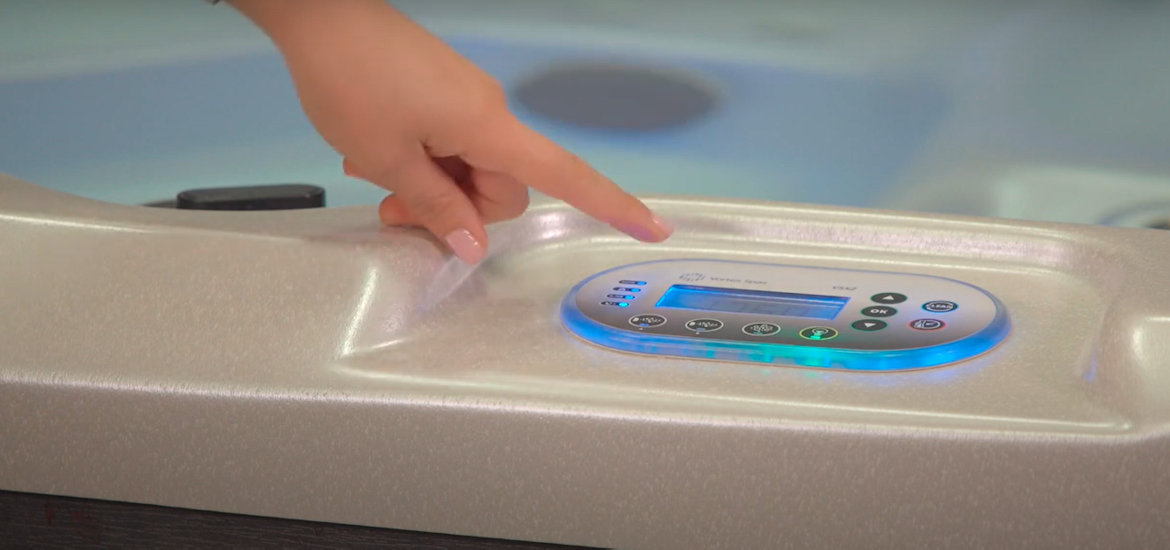
- What are the buttons on the SpaNet® SV1 & SV2 Mini keypad
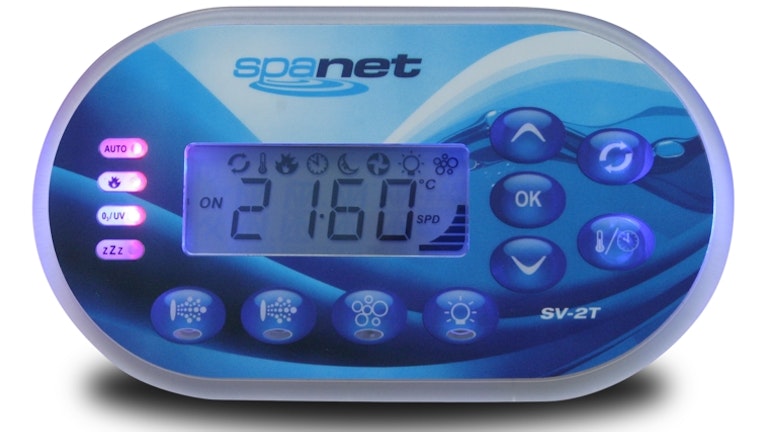
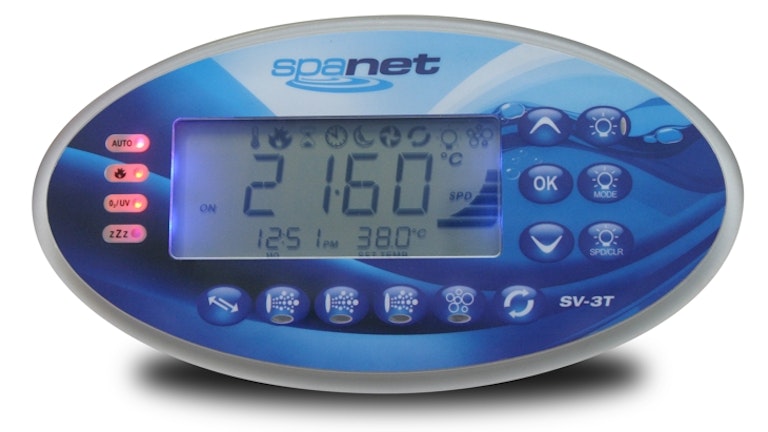
- How to use the SpaNet® SV2, SV3, and SV4 controllers
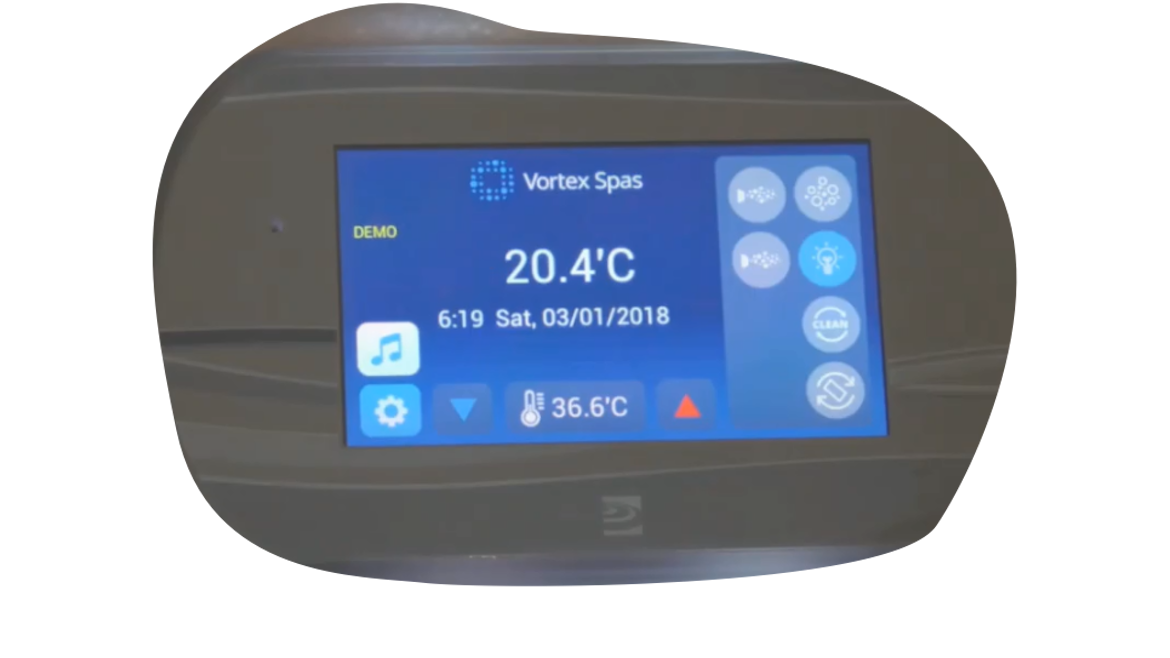
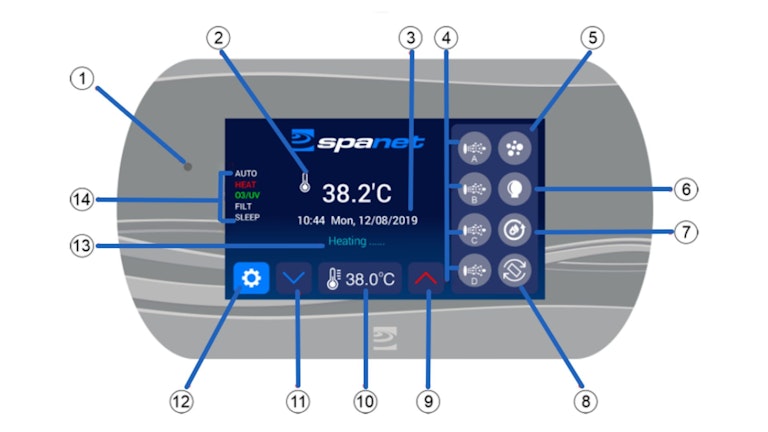
- How to use the SpaNet® SmartTouch™ Touchpad
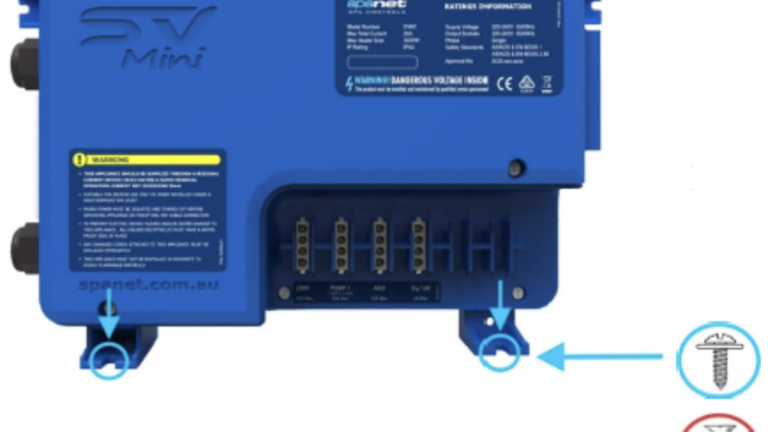
- How to wire your SpaNet® SV Series controller
This article mentions SpaNet™, which is not affiliated with Spa World™ or Vortex™ Leisure Pty Ltd. You can see the details about this brand at the bottom of this article.
Disclaimer: A licensed electrician must carry out all electrical work on your spa. Any electrical information included here, whether it is troubleshooting or other instructions, are provided for use by a licensed electrician only. Local electrical codes supersede any information found here.